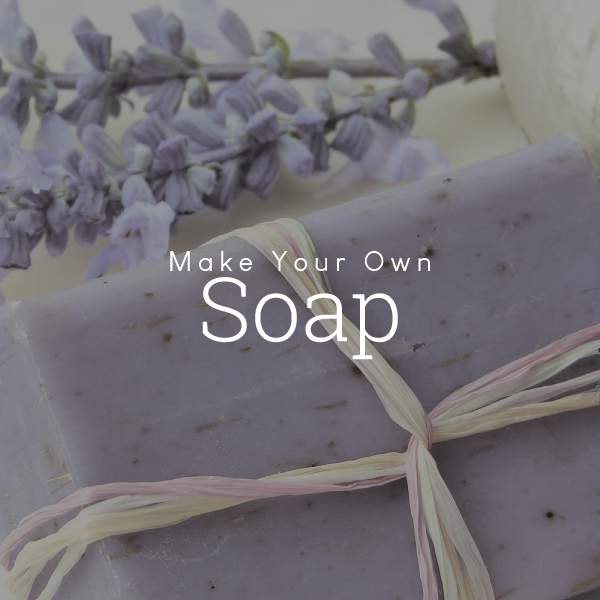
Sodium Hydroxide (NaOH), also known as lye, is an essential ingredient in the soap making process. When sodium hydroxide beads or flakes are mixed with a liquid, a lye solution is created.
This solution, when mixed with fats and oils, will cause a chemical reaction called saponification. The result of saponification is beautiful handmade soap.
Soap making is a wonderfully fun and addictive craft. However Please Take Note Lye is a caustic substance that must be handled with care. Make sure to wear Protective Clothes, Hard Shoes, Gloves and Safety Googles. Also take care when handling the Lye as this is the same as moving boiling water.
You Will Need:
- Two good sized stainless steel or enamelled saucepans.
- One heat-proof glass measuring jug or plastic jug able to withstand boiling water.
- Accurate kitchen scales.
- Utensils for stirring for example Wooden or stainless steel spoons or similar.
- Two cooking/brewing thermometers
- A mould to pour the liquid soap into whilst it sets. A wooden or cardboard tray or box lined with grease-proof paper or siliconised baking sheet is great.
- Eye and hand protection (safety glasses and rubber gloves).
- A blanket or large towel.
- 12 oz (340g) of cold, clean Water
- 125g of Sodium Hydroxide Pearl 99%
- 1lb (454g) olive oil (preferably pomace grade but virgin or extra virgin will do)
- 10oz (284g) coconut oil
- 6oz (170g) palm oil
- 1/4 tsp Grapefruit seed extract OR Vitamin E
Step 1
Make sure all protective gear is being worn and plan to make soap when you won’t be interrupted. Please Note – Make sure Children and Pets aren’t in the general area. Make sure to have a Water Source nearby in case you need to wash off any spills.
Step 2
Make sure you have all the ingredients and equipment listed above BEFORE you start and weigh them out into suitable containers ready to use.
Step 3
First choose your mould. If choosing lined wooden mould, make sure the lining paper is not cut or holed in any way below the top of the mould. It must be folded into corners to ensure there are no leaks.
Step 4
Measure out 12 oz (340g) of cold clean water into a jug. Weigh (accurately) 125g of Sodium Hydroxide Pearl into a suitable container. Carefully add the sodium hydroxide to the water, stirring all the time with a spoon or spatula. Please Note – Be careful not to breathe the vapour that is initially given off, Wear a mask and stir until all the Sodium Hydroxide has dissolved and there are no lumps stuck to the bottom of the jug.
Step 5
The solution (now known as Lye) will heat up to nearly 200 degrees Celsius and will need to be left to cool. Place one of the thermometers into the solution and leave to one-side.
Step 6
Meanwhile, measure out exactly 10oz (284g) of coconut oil and 6oz (170g) of palm oil into one of the saucepans and gently melt it on the stove. Don’t overheat it, just melt it. When there are tiny pieces of solid oil still left to melt, turn off the heat and leave until completely liquid. If using a Pigment to colour your soap, add a little to the warm oils now.
Step 7
Whilst the solid oils are melting, measure out 1lb (454g) of olive oil (pomace grade is best) into the other saucepan (this will be the soap-making pan).
Step 8
Once melted, pour the combined coconut and palm oils into the olive oil and mix them all together.
Step 9
Place the other thermometer in the pan of oils. You should end up with a thermometer in each of the lye and oils.
Step 10
What you now need to do is keep watch on the temperatures of both the oils and the Sodium Hydroxide solution (Lye). Once both oils and lye are at near similar temperatures they can be combined. As a guide a minimum of around 80 degrees Celsius and a maximum of around 130 degrees Celsius are ideal limits of temperature. As long as oils and lye are both at similar temperatures between these limits.
Step 11
When at the correct temperatures, slowly and carefully pour the lye into the oils, and start stirring (preferably with a hand balloon) whisk to ensure the mixture all starts to chemically react and combine. You should stir throughout the mixture fairly briskly. You will notice the solution start to turn more opaque and as the minutes pass it will start to thicken. The stage in the process you have to wait for is known as the ‘Trace’. If adding essential oil/s, add them at ‘the trace’ after any colour and stir in well. Once everything is added and the mixture traces simply pour it into your lined mould.
Step 12
Cover the mould with something like a cardboard sheet to prevent anything touching the surface of the soap whilst it’s setting. Insulate with old towels or a blanket and leave at room temperature until the soap has solidified. With a small batch like this example, this should be no more than 24 hours.
Step 13
Once set and cool, remove the soap from the mould and remove any lining paper from the soap. At this stage it will be a soft solid and can be easily cut into bars or smaller blocks if desired. If it appears too soft to handle, leave it for 2-3 days and try again. Leave your soap ‘curing’ at room temperature for typically at least 3-4 weeks, preferably on a sheet of uncoloured absorbent paper allowing air to circulate around each bar or block.
NOTE: BEFORE USING ANY OF THE PRODUCTS LISTED PLEASE READ ANY SAFETY AND PRECAUTIONS TO THIS PRODUCT BEFORE USAGE.
PLEASE ALSO COMPLETE A PATCH TEST.
APC Pure does not accept any responsibility, this is a guide only.
